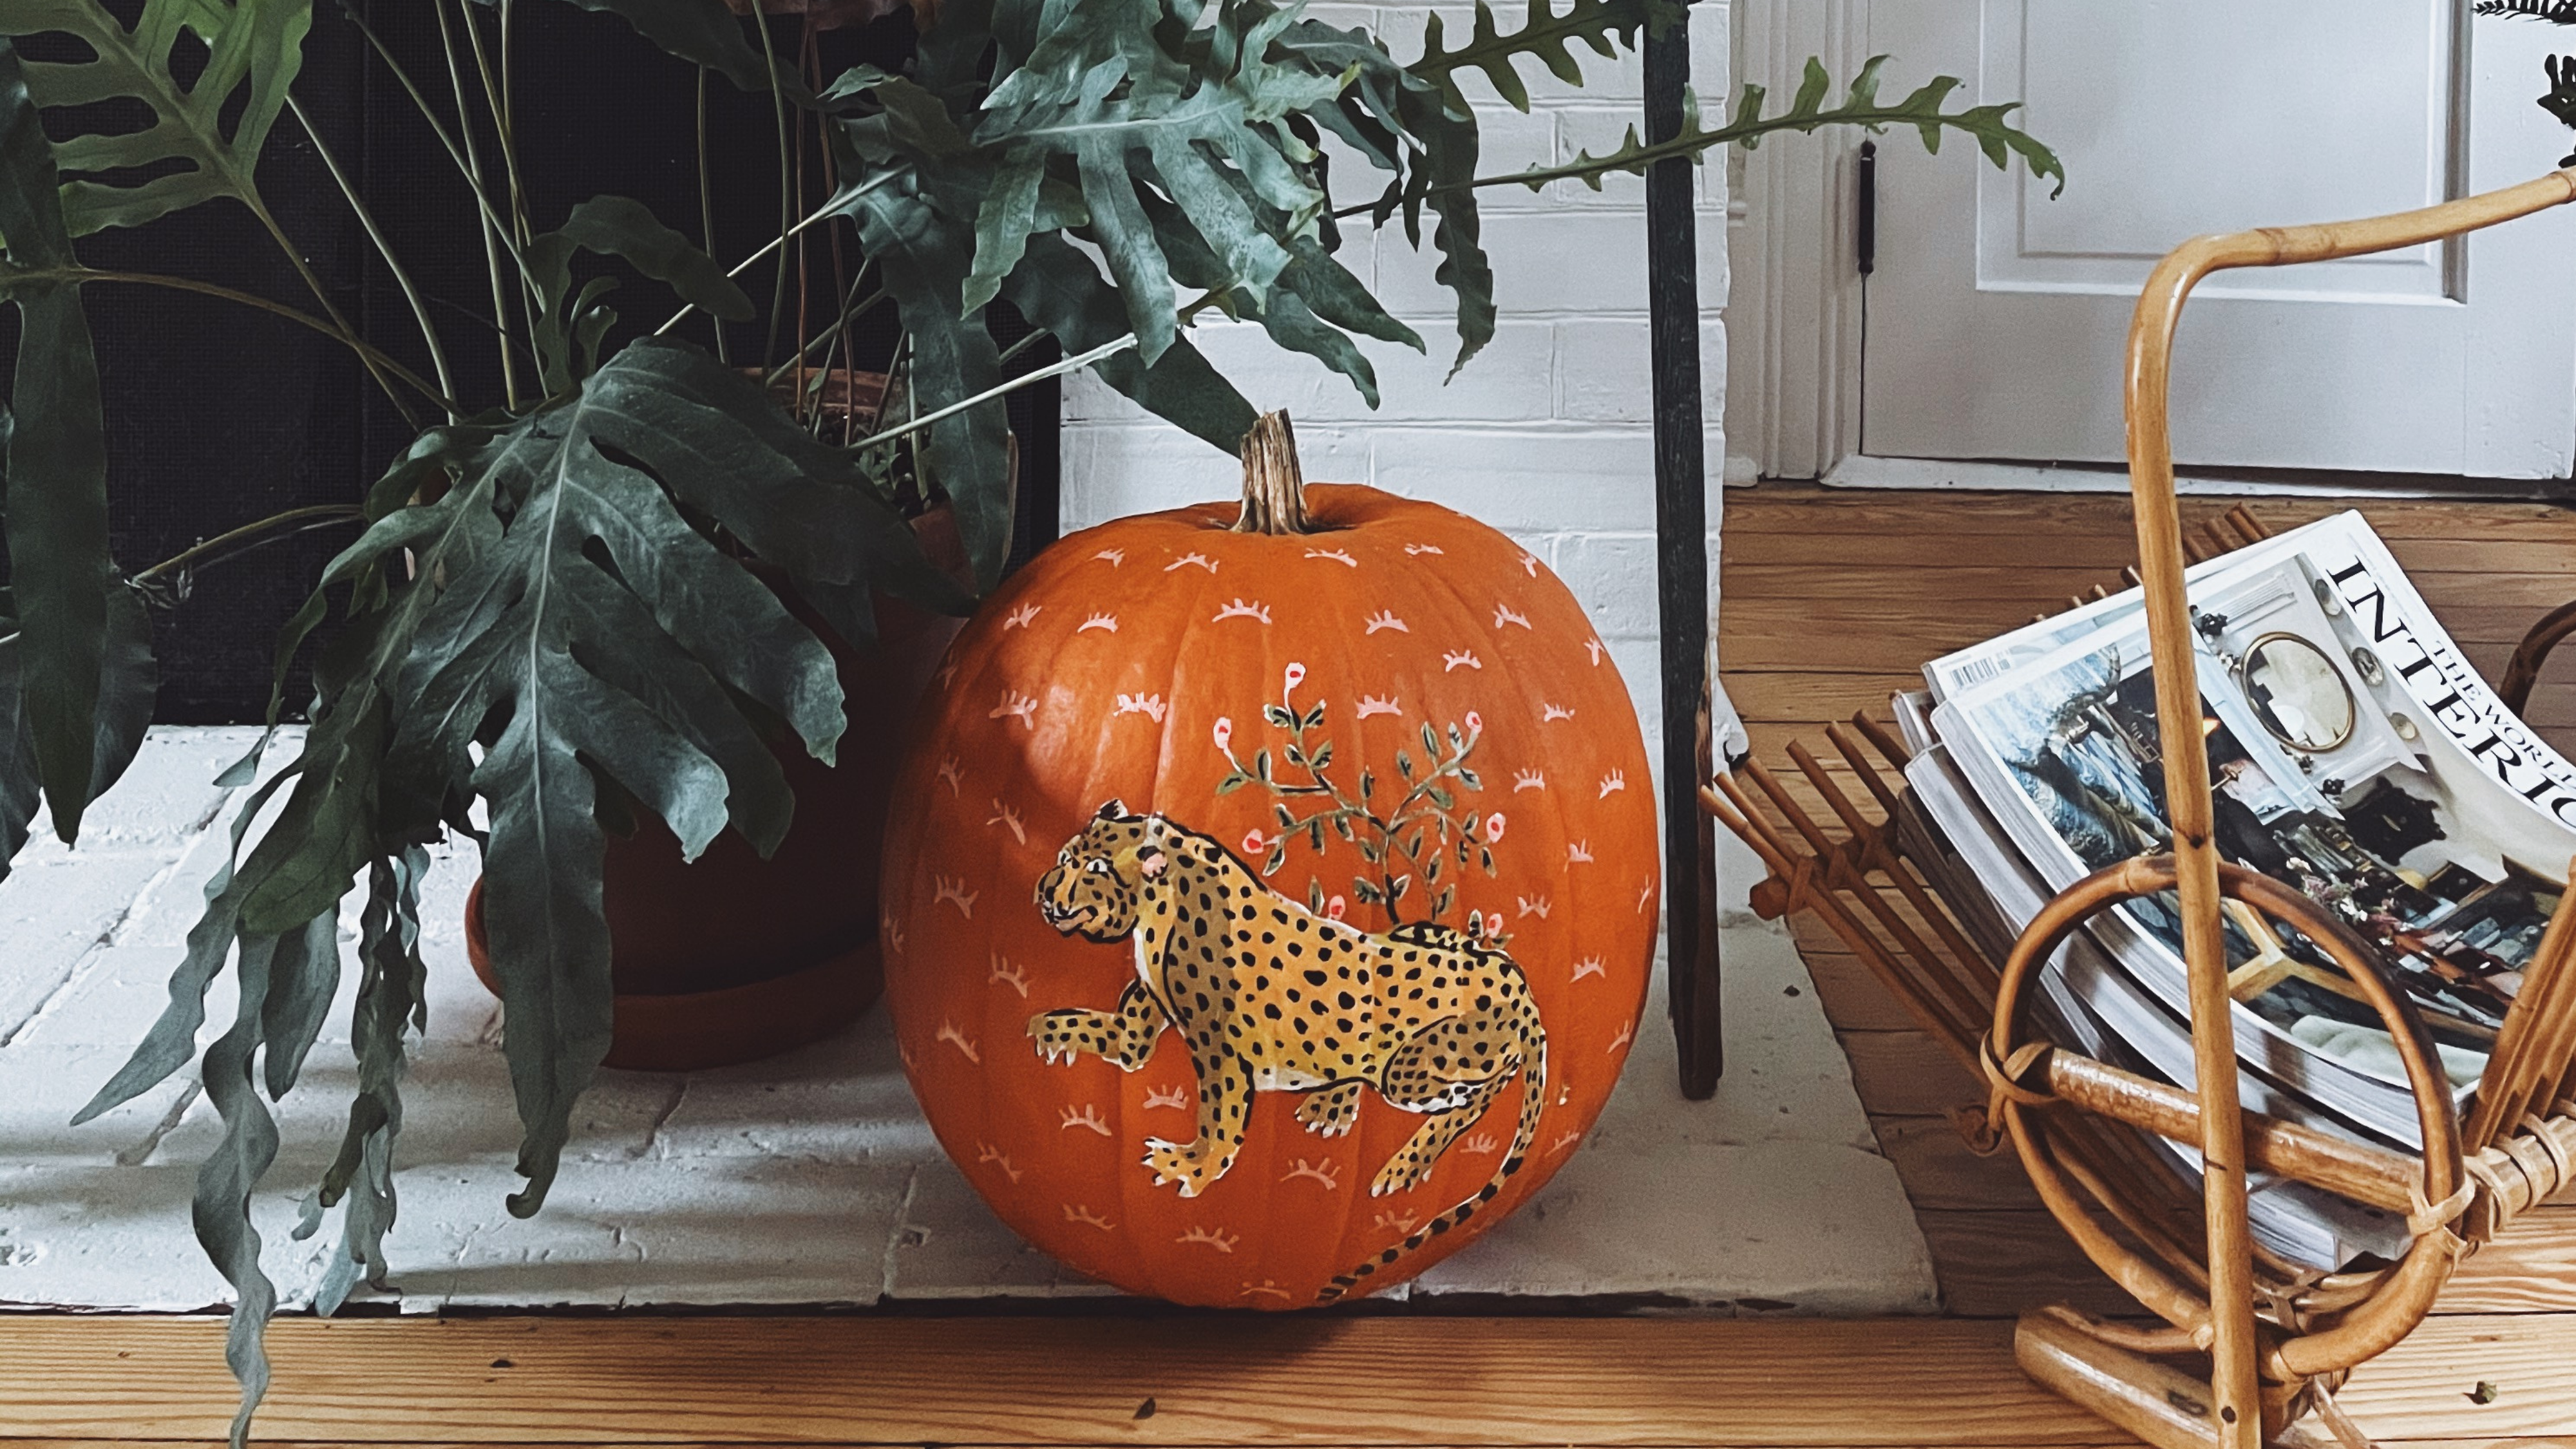
Looking for a fall craft project that doesn’t involve carving? The Pumpkin Painting DIY is a fun way to decorate for Halloween, and using a paintbrush allows for a lot more creativity than trying to wield a knife!
1. Start with a great pumpkin: A smooth variety of pumpkin will make it easier to execute your design.
2. Clean and dry your pumpkin: This will help your paint adhere easily. We recommend acrylic paint – it is the easiest and dries quickly.
3. Determine your design: Something loose and bold will work well, while smaller details can be very time consuming – so plan accordingly!
4. Sketch in the outline of your desired design: Use either a pale colored marker or graphite transfer paper if you have a more elaborate design that is harder to freehand outline.
5. Paint your design: Use acrylic paint with paint brushes. Have a damp cloth and water on hand in case you need to quickly clean up any mistakes. Paint as you would if you were painting on a typical canvas.
A few more considerations are:
A) You may need to do multiple layers if you are using a light color
B) Consider the curvature of your pumpkin and make a design that goes around it for the biggest impact.
6. Show off your work: Place the pumpkin in a cool dry location and enjoy!


0 comments